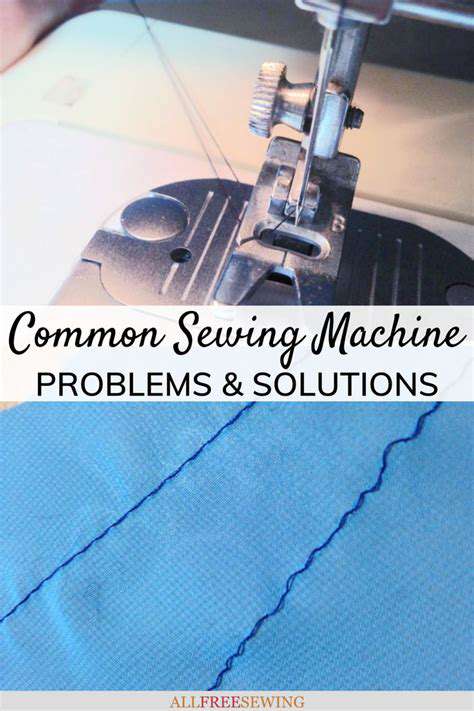
How to Troubleshoot Your Sewing Machine
Unplug and Inspect
Before you begin any troubleshooting, ensure that your sewing machine is unplugged from the power source. This crucial step prevents any electrical hazards and allows for a safer, more focused inspection. Carefully examine the machine's exterior for any visible signs of damage, such as frayed cords, bent or broken parts, or loose connections. A visual inspection can often identify the root of the problem, saving you time and effort.
Look closely at the power cord and the plug itself. Are there any signs of wear or damage? A damaged power cord could be the source of the issue. Examine the machine's base and housing for any obvious signs of physical damage, like dents or cracks. If you notice anything amiss, document it for reference during further troubleshooting steps.
Check the Power Source
Once you've visually inspected the machine, it's time to evaluate the power source. Ensure the electrical outlet is functional by plugging in another appliance. If the outlet is faulty, the sewing machine won't function properly, regardless of its internal mechanisms. Make sure the correct voltage is being supplied to the machine and if the voltage is incorrect, it could be causing issues with the machine's internal components. A faulty outlet is a common cause of sewing machine problems.
Verify the Stitch Length and Width Settings
Incorrect stitch length or width settings can lead to inconsistent stitching or even machine malfunction. Double-check the stitch length and width settings on your machine and ensure they are appropriate for the fabric and project you're working with. Incorrect settings can cause the machine to skip stitches or produce uneven seams, significantly impacting the quality of your work.
Examine the Bobbin and Bobbin Case
A crucial part of the sewing process is the bobbin. If the bobbin is incorrectly inserted or empty, the machine may not sew properly. Carefully remove and inspect the bobbin and bobbin case for any obstructions or damage. Ensure the bobbin is correctly wound and seated in the bobbin case. Problems with the bobbin are a common cause of sewing machine issues, so it's essential to check this component thoroughly.
Inspect the Needle and Presser Foot
A dull or bent needle can cause skipped stitches, uneven stitching, or even damage to the fabric. Check the needle's condition and replace it if it's dull, bent, or damaged. Similarly, a worn or misaligned presser foot can interfere with the sewing process. Inspect the presser foot for any signs of damage or misalignment and ensure it's correctly positioned on the sewing machine.
Check the Thread Tension
Uneven thread tension can cause a variety of problems, from skipped stitches to puckered seams. Adjust the thread tension to ensure that the upper and lower threads are properly interwoven. Too much tension can cause the threads to break easily, while too little tension can result in loose stitches. Careful adjustment of the thread tension is key to achieving a neat and professional finish.
Clean the Machine
Accumulated lint, dust, and fabric debris can impede the sewing machine's smooth operation. Regular cleaning is essential to maintain optimal performance. Use a soft brush to remove any debris from the machine's interior and exterior. Also, clean the bobbin area and the needle plate to prevent clogs and ensure proper functioning. A clean machine is a happy machine!
Common Sewing Machine Problems and Solutions
Troubleshooting Common Sewing Machine Issues
Sewing machines, while incredibly useful tools, can sometimes malfunction. Understanding common sewing machine problems and their potential solutions can save you time and frustration. A thorough understanding of your machine's mechanics is key to effective troubleshooting. Knowing the basics of how the machine operates will allow you to identify the source of the issue more quickly. For instance, a skipped stitch might be due to a loose thread or a jammed bobbin, but it could also be a more significant issue like a worn-out needle.
Many issues can be resolved with simple adjustments. Checking the tension settings, ensuring the bobbin is correctly loaded, and making sure the needle is properly threaded are crucial steps in the diagnostic process. Regular maintenance, like cleaning the machine and lubricating moving parts, can prevent many common problems from arising in the first place. Thorough cleaning and lubrication are critical to the machine's long-term health and efficiency. If you're unsure about any of these steps, consult your sewing machine's manual for specific instructions.
Potential Causes and Solutions
One frequent problem is inconsistent stitch length. This can stem from a variety of causes, including issues with the stitch length dial, a worn-out needle, or a tangled thread. Correcting this issue often requires adjusting the stitch length dial, replacing the needle, or carefully untangling any thread jams. Sometimes, even a slight adjustment to the tension can resolve the issue.
Another common issue is a skipped stitch. This frustrating problem can be caused by a variety of factors, including a jammed bobbin, a loose thread, or even a dull needle. A jammed bobbin is a common source of skipped stitches, and often a simple fix. Checking the bobbin tension and ensuring the bobbin is correctly loaded is important. Replacing the needle may also resolve the issue, as a dull needle can lead to inconsistent stitching.
A final issue is the machine not sewing at all. This can be due to several factors, including a power issue, a loose electrical connection, or a problem with the motor itself. Carefully checking the power source and ensuring the machine is plugged in correctly is often the first step in troubleshooting. If the power source is fine, further investigation will be needed, possibly involving checking the machine's electrical connections or contacting a qualified technician.
Ultimately, understanding these common sewing machine problems and the steps to diagnose and resolve them can significantly reduce frustration and keep your sewing projects flowing smoothly.

Read more about How to Troubleshoot Your Sewing Machine


![How to Write a Novel [Step by Step]](/static/images/34/2025-05/5FinalTouches3AFormatting2CProofreading2CandPublication.jpg)


Hot Recommendations
-
*Best Sci Fi Books to Read in 2025
-
*How to Start a Reading Journal
-
*Guide to Collecting Vinyl Records by Genre
-
*Guide to Self Publishing Your Book
-
*Guide to Reading More Books
-
*How to Solve a Megaminx Fast
-
*Guide to Identifying Edible Plants While Hiking (Use Caution!)
-
*How to Solve a 5x5 Rubik's Cube
-
*Guide to Building Advanced Lego Structures
-
*How to Capture Star Trails Photography