How to Make Polymer Clay Jewelry
- A smooth acrylic roller for even sheets
- Precision blades for clean cuts
- Needle tools for delicate detailing
- Texture plates for surface patterns
Investing in quality tools pays off in the long run, as they provide better control and last longer than cheaper alternatives. For safety, always work on a protected surface and store sharp tools properly.
Preparing Your Workspace
An organized workspace boosts creativity and efficiency. Consider these setup tips:
- Use a dedicated silicone mat to prevent sticking
- Keep frequently used tools within arm's reach
- Maintain good lighting to see fine details
- Store clay properly between sessions
A clutter-free environment helps maintain focus and prevents accidental damage to your creations.
Firing and Curing Your Polymer Clay Creations
Proper curing transforms soft clay into durable jewelry. Follow these guidelines:
- Always preheat your oven for consistent results
- Use an oven thermometer for accuracy
- Bake on a ceramic tile for even heat distribution
- Allow pieces to cool completely before handling
Undercured clay remains brittle, while overcured pieces may darken, so timing is crucial. When in doubt, bake a test piece first.
Finishing Touches and Adding Details
The final steps elevate your jewelry from good to exceptional:
- Sanding with progressively finer grits creates a smooth finish
- Buffing brings out the clay's natural sheen
- Applying a water-based varnish adds protection
- Embellishments like beads or metal findings add personality
These finishing techniques can transform simple pieces into professional-quality jewelry.
Storage and Care of Your Polymer Clay Jewelry
Proper care ensures your creations last for years:
- Store in airtight containers away from sunlight
- Separate pieces with soft cloth to prevent scratches
- Clean gently with a soft, damp cloth
- Avoid exposing to harsh chemicals or extreme temperatures
With proper care, polymer clay jewelry maintains its beauty through years of wear.
Adding Details and Finishing Touches
Adding Realistic Textures
Texture transforms flat surfaces into dimensional art. Try these techniques:
- Press natural objects (leaves, lace) into soft clay
- Use specialized texture tools for consistent patterns
- Layer different textures for visual interest
- Combine smooth and rough areas for contrast
The right texture can make abstract designs feel organic and lifelike. Practice on scrap clay before applying to finished pieces.
Finishing Touches and Finishing the Look
Final details complete your jewelry's story:
- Choose findings that complement your design aesthetic
- Consider both form and function when adding hardware
- Test different finishes (matte, glossy, metallic) on samples
- Sign your work discreetly for a professional touch
These final decisions often make the difference between homemade and professional-looking jewelry.
Collaborative learning fosters an environment where individuals can exchange ideas and insights, significantly enriching the overall educational experience. When students engage in group activities, they not only share knowledge but also learn from each other's strengths and experiences, creating a synergy that enhances understanding and retention.
Finishing and Displaying Your Jewelry
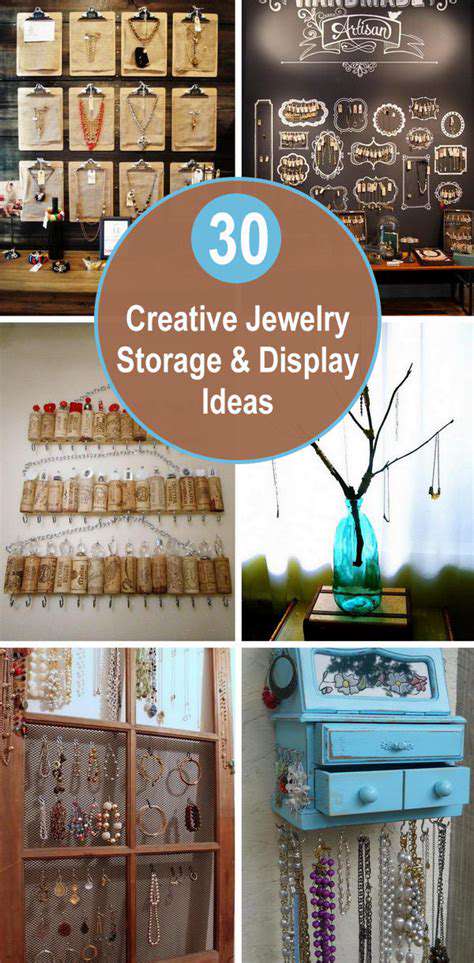
Setting Up the Display Area
An effective display showcases your work's best features:
- Choose backgrounds that contrast with your jewelry colors
- Use varying heights to create visual movement
- Leave negative space to prevent visual overload
- Group related pieces to tell a cohesive story
A thoughtful display arrangement guides the viewer's eye naturally through your collection.
Choosing the Right Lighting
Lighting dramatically affects perception:
- Warm light enhances gold tones
- Cool light makes silver pop
- Diffused lighting minimizes harsh shadows
- Directional lighting emphasizes texture
Test different lighting setups to find what flatters your pieces best.
Selecting Appropriate Props and Backdrops
Props should complement without competing:
- Natural materials like wood or stone add warmth
- Metallic surfaces create modern contrast
- Fabric drapes soften angular pieces
- Minimalist stands keep focus on the jewelry
The best props disappear, letting your jewelry take center stage.
Ensuring Proper Placement and Organization
Strategic arrangement improves viewer experience:
- Place statement pieces at eye level
- Group by collection or color story
- Alternate sizes and shapes for rhythm
- Leave room between pieces for visual breathing space
Good organization makes your display feel intentional rather than random.
Final Touches and Considerations
Before presenting your work:
- Check for dust or fingerprints
- Ensure all price tags are discreet but visible
- Test sightlines from multiple angles
- Verify lighting highlights rather than distracts
The extra time spent perfecting your display pays off in professional presentation.