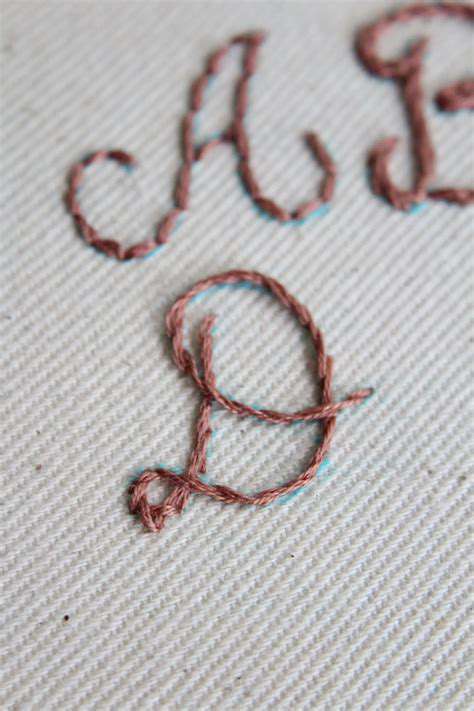
How to Embroider Flowers
What makes the running stitch truly remarkable is its versatility. By varying stitch lengths and spacing, you can create anything from delicate outlines to textured fills. Try alternating thread colors mid-row for a playful effect, or use it to suggest the delicate veins in flower petals. The beauty of this stitch lies in its imperfections - those slight variations that give handmade work its character.
Exploring the Back Stitch
When you need definition in your floral designs, the back stitch delivers. This workhorse of embroidery creates crisp, unbroken lines perfect for botanical outlines. Imagine tracing the elegant curve of a rose petal or the sharp angles of a chrysanthemum - that's the back stitch at work. The technique is simple yet profound: each new stitch begins where the last one ended, creating an unbroken chain of thread.
For particularly bold outlines, try doubling your thread or using a thicker embroidery floss. The back stitch shines when used to create dimension - try alternating between tight and loose stitches to suggest shadows and highlights on your floral elements. This stitch transforms flat designs into dimensional artwork.
Mastering the Satin Stitch
The satin stitch is where embroidery becomes painterly. This smooth, lustrous technique allows you to paint with thread, filling spaces with rich color. When working on flower petals, the satin stitch mimics nature's flawless gradients. The secret lies in parallel stitches placed so close they form a continuous surface. Proper tension is crucial - too loose and the stitches sag; too tight and the fabric puckers.
For realistic floral effects, consider blending thread colors within a single petal. Start with darker shades at the base, gradually transitioning to lighter tones at the edges. The satin stitch rewards patience - take time to plan your stitch direction to follow the natural flow of petals. When done well, the results can be breathtakingly realistic.
Designing Your Floral Embroidery
Choosing Your Embroidery Design
Selecting your first floral pattern feels like choosing which garden to plant. Beginners might start with a single bloom, while experienced stitchers could tackle elaborate bouquets. Consider not just the final appearance, but the stitching journey itself. Will those hundreds of French knots bring you joy or frustration? The best designs balance challenge with achievable satisfaction.
Selecting the Right Fabrics and Threads
Your fabric choice dramatically affects the embroidery experience. Crisp linen offers wonderful stitch definition, while soft cotton voile creates ethereal effects. For thread, quality matters - cheaper threads fray and fade, while premium silks and cottons maintain their beauty for generations. Invest in good materials; your future self will thank you when your work still looks vibrant years later.
Planning Your Color Palette
Nature provides the most inspiring color schemes. Study real flowers - notice how petals often graduate from deep hues at the center to pale edges. Don't be afraid to depart from reality though; fantasy florals in unexpected colors can be stunning. Keep a color wheel handy to identify complementary and analogous schemes that create visual harmony.
Embellishing Your Embroidery with Details
It's the tiny details that bring embroidery to life. A strategically placed bead becomes morning dew. A few seed stitches suggest pollen on a stamen. Consider adding subtle texture to leaves with alternating stitch directions. These thoughtful touches transform good work into extraordinary pieces.
Organizing your stitching sessions helps maintain creative momentum. Set aside dedicated time when you're most alert and focused for best results.
Finishing Touches and Displaying Your Work
Finalizing the Presentation
The final steps in completing your embroidery deserve as much care as the stitching itself. Proper blocking can rescue even slightly distorted work. Gently stretch and pin your dampened piece to shape, allowing it to dry perfectly flat. For heirloom pieces, consider adding a backing fabric to protect your stitches.
Display Strategies for Maximum Impact
How you present your finished embroidery affects how it's perceived. Traditional hoops work beautifully for casual displays, while professional framing elevates special pieces. Lighting dramatically affects color perception - display your work where it gets natural light but avoid direct sunlight which fades threads over time.